
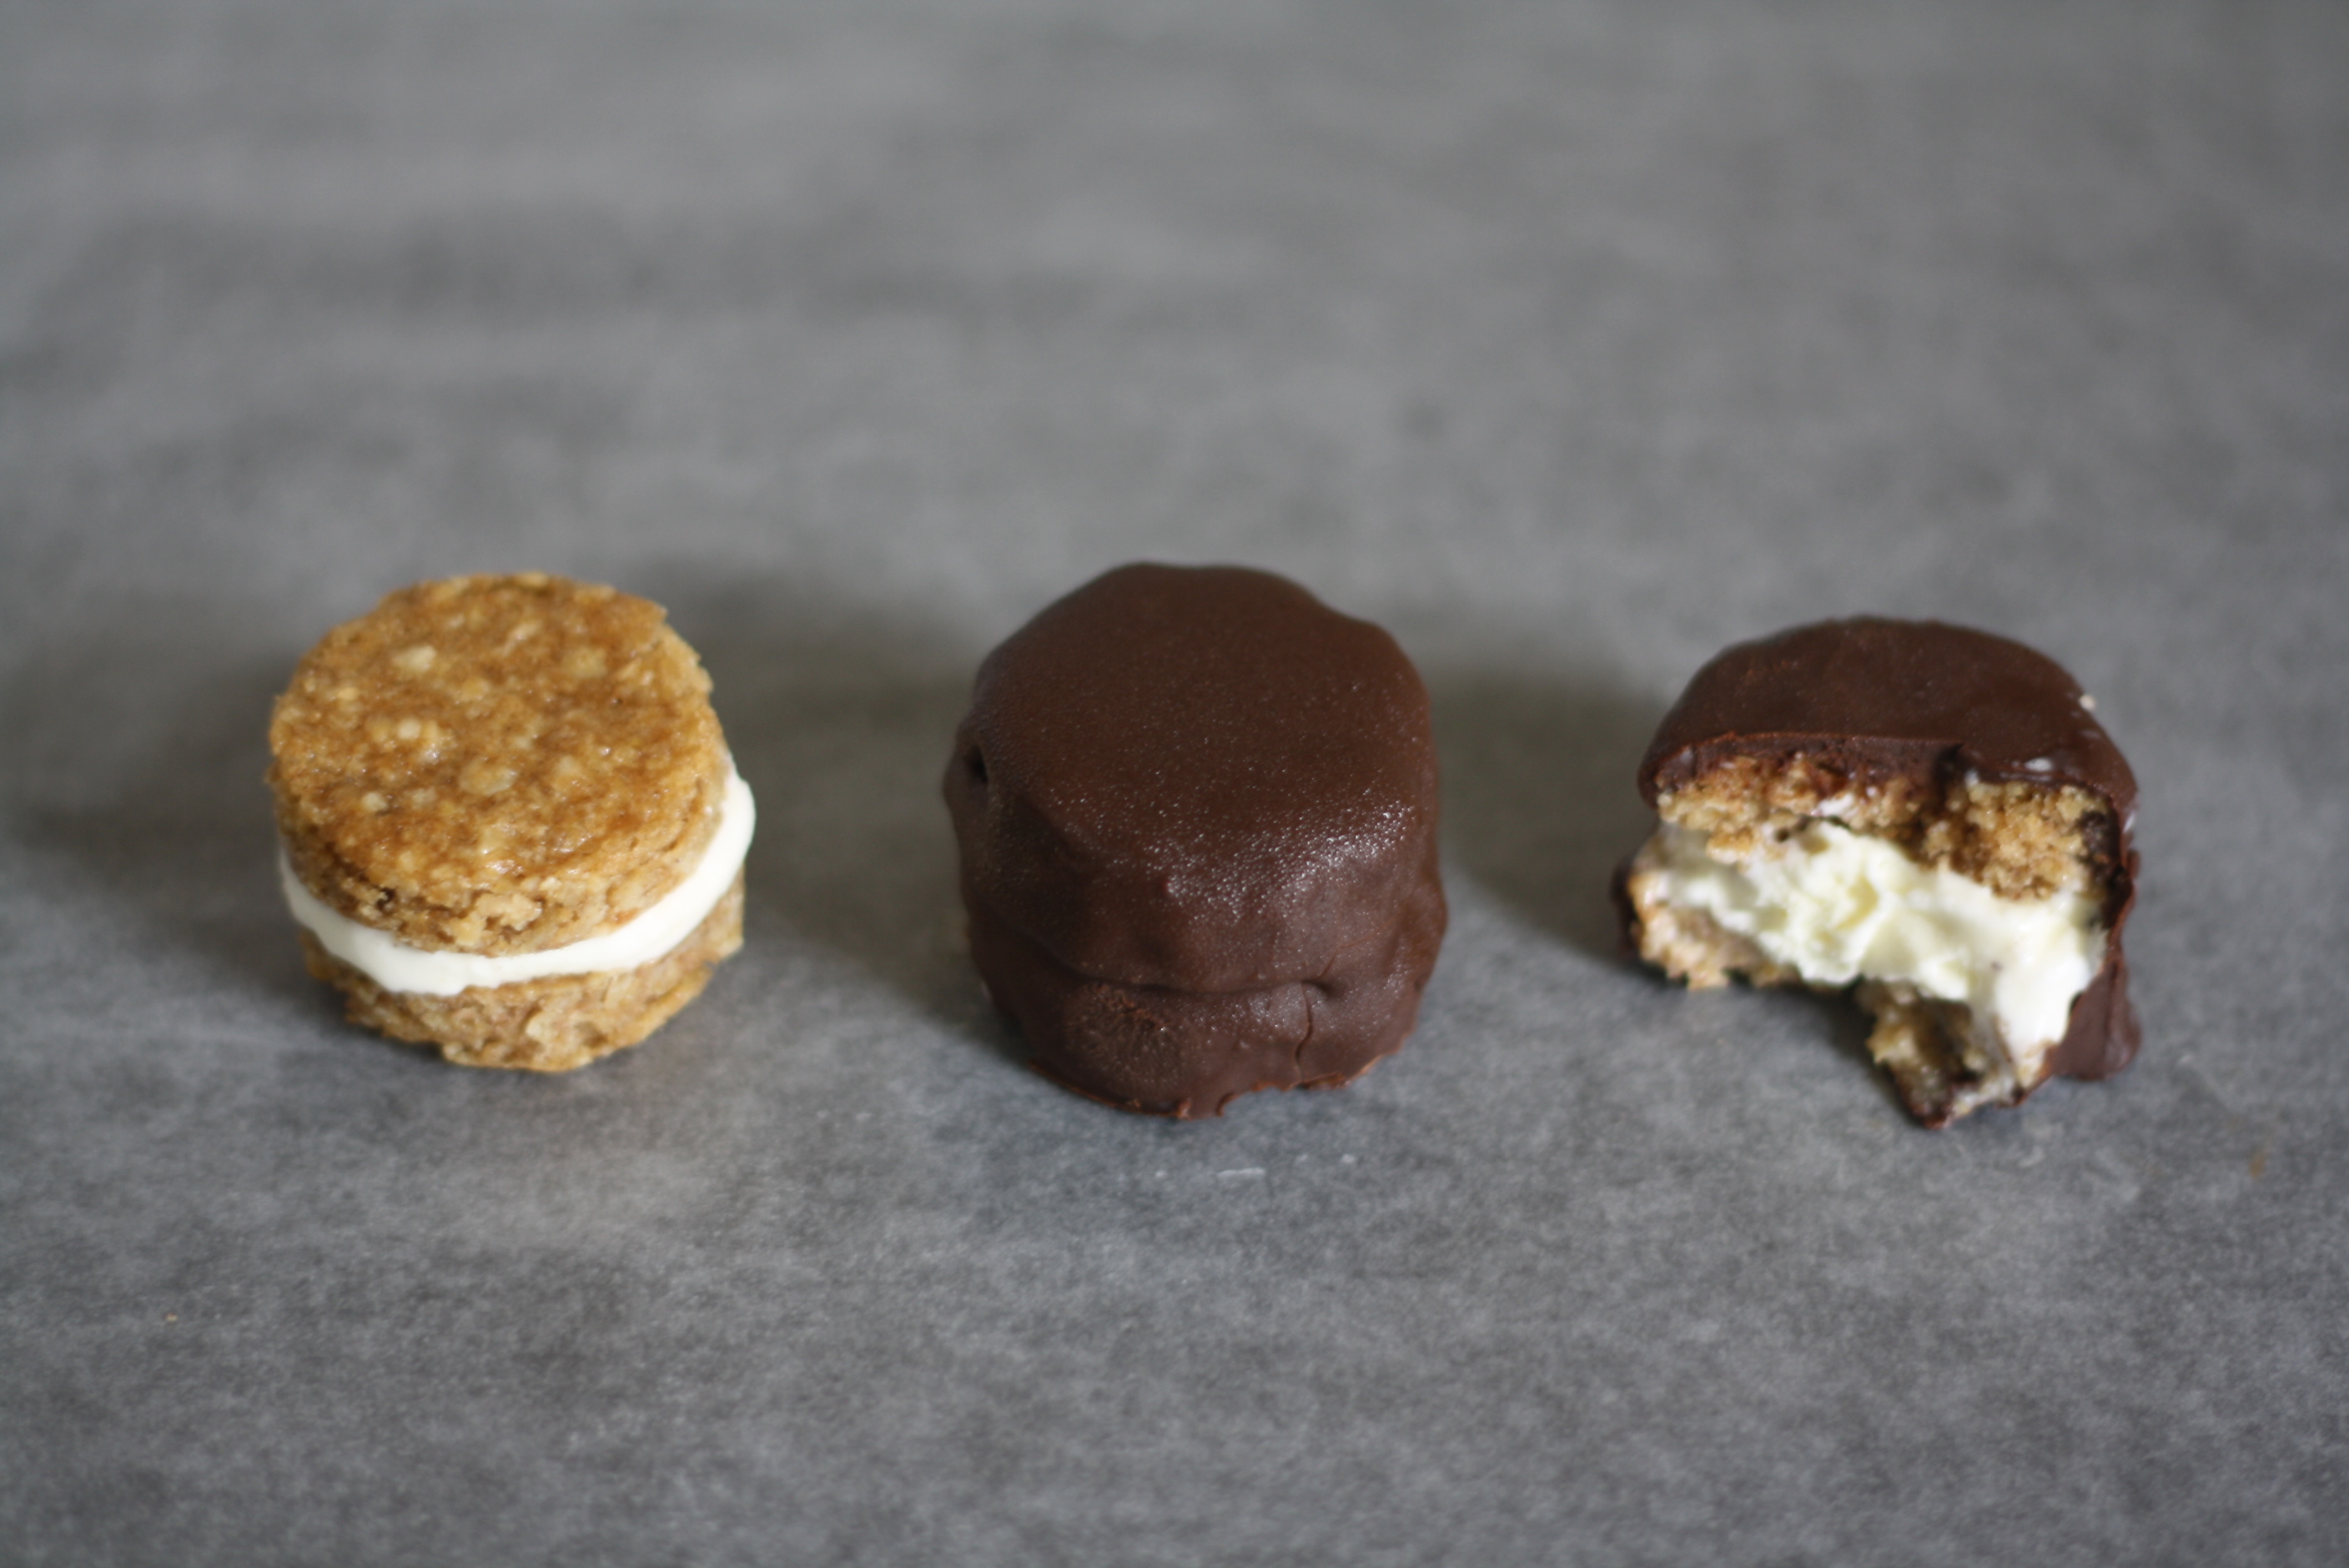
Mini IT’S-IT Ice Cream Sandwiches
Makes about 2 dozen tiny (1 1/2-inch diameter) sandwiches
Inspired by The Original (magic shell adapted from the archives; cookie recipe adapted from Gourmet)
For the cookies:
1 3/4 cup (160 grams) old-fashioned rolled oats
3/4 cup (94 grams) flour
3/4 teaspoon (3 grams) cinnamon
1/2 teaspoon (2 grams) baking soda
1/2 teaspoon (2 grams) salt
10 tablespoons (141 grams) butter, softened
1/3 cup (75 grams) brown sugar
1/3 cup (72 grams) sugar
1 egg
1 teaspoon (5 ml) vegetable oil
1 teaspoon (5 ml) vanilla
For the coating**:
14 ounces (400 grams) dark chocolate, chopped
4 tablespoons (60 grams) coconut oil
pinch of salt
1 pint good quality ice cream [I used peppermint chocolate chip]
Make the cookies: Preheat oven to 375. Butter an 18×13 rimmed baking sheet, line with parchment, and butter the parchment. Set aside.
In a medium bowl whisk together oats, flour, cinnamon, baking soda and salt. In a larger bowl cream together butter and both sugars. Add egg, oil and vanilla and mix until smooth. Add the dry ingredients and stir until combined. Spread the dough evenly using an offset spatula into the prepared pan. You may feel like it is not enough dough to cover the bottom, but keep spreading and you’ll get there. You want a very thin layer of cookie. Bake for 8-10 minutes or until the cookie is lightly brown and set in the middle. Cool completely on a wire rack.
Use the parchment as a sling to lift out the cookie and place on a cutting board. Stamp as many cookies as you can using a tiny 1 1/2-inch biscuit cutter (I have this set). Transfer cookies to a baking sheet lined with wax paper and place in the freezer until cold, or about 30 minutes. Get your ice cream out and a tiny scoop ready.
Assemble the ice cream sandwiches (Part 1): Removing two cookies from the freezer at a time, scoop tiny bits of ice cream on the bottom side of one cookie and gently press down with the remaining cookie to create a sandwich. Smooth the ice cream so it is flush with the edge of the cookies using an offset spatula or a knife. Place each finished sandwich back in the freezer. Repeat until all your sandwiches are made and let them chill for a good hour or two. You want the cookies to be as cold as possible when dipping them in chocolate.
Prepare the coating: Combine chocolate, coconut oil and a pinch of salt in a medium bowl set over a saucepan of barely simmering water until melted and smooth.
Assemble the ice cream sandwiches (Part 2): Mentally prepare yourself for the dipping process. Take a deep breath. What is going to happen is that you will remove one sandwich from the freezer, quickly lower it into the melted chocolate, use a spoon to cover the top and sides, then let the extra chocolate drip off and return the finished coated sandwich to the freezer to firm up. Super easy, right?
Once you deal with the fact the first few will not look pretty (but will still be tasty!) then you’ll be fine. What helped me? A flat cheese grater. Random, yes, but oh so helpful. I set a sandwich on the flat surface – which is covered with holes so the extra chocolate could drip through – then spooned chocolate over the top until it was covered and used a offset spatula to lift the coated sandwich off the grater and carefully return it to the baking sheet in the freezer. If you don’t have a flat cheese grater, I bet a slotted spoon or a spatula would work just as well.
**Or hey, you could just forgo dipping all together and cut the coating recipe in half. Instead, top each sandwich with a spoonful of melted chocolate. It will run down the sides of the sandwich and is basically the same thing. I promise you they will get eaten in the same amount of seconds – regardless of the route you used to coat them in chocolate.