
Pink and White Frosted Circus Animal Crackers
Makes about 4 dozen tiny animal cookies
Inspired by Mother’s Cookies Circus Animal cookies; Cookie recipe adapted from Williams-Somona
For the animal crackers:
1 1/2 cups (187 grams) flour
1/2 teaspoon baking powder
1/2 teaspoon salt
1/8 teaspoon ground cinnamon
pinch of nutmeg
6 tablespoons (85 grams) butter, very soft
1/3 cup (35 grams) powdered sugar
1 egg
1/4 teaspoon almond extract
1/4 teaspoon vanilla
For the decorating:
1 bag white candy melts
1 bag pink candy melts
sprinkles, of the multi-colored nonpareils variety
canola oil or vegetable shortening, as needed
assorted animal-shaped cookie cutters
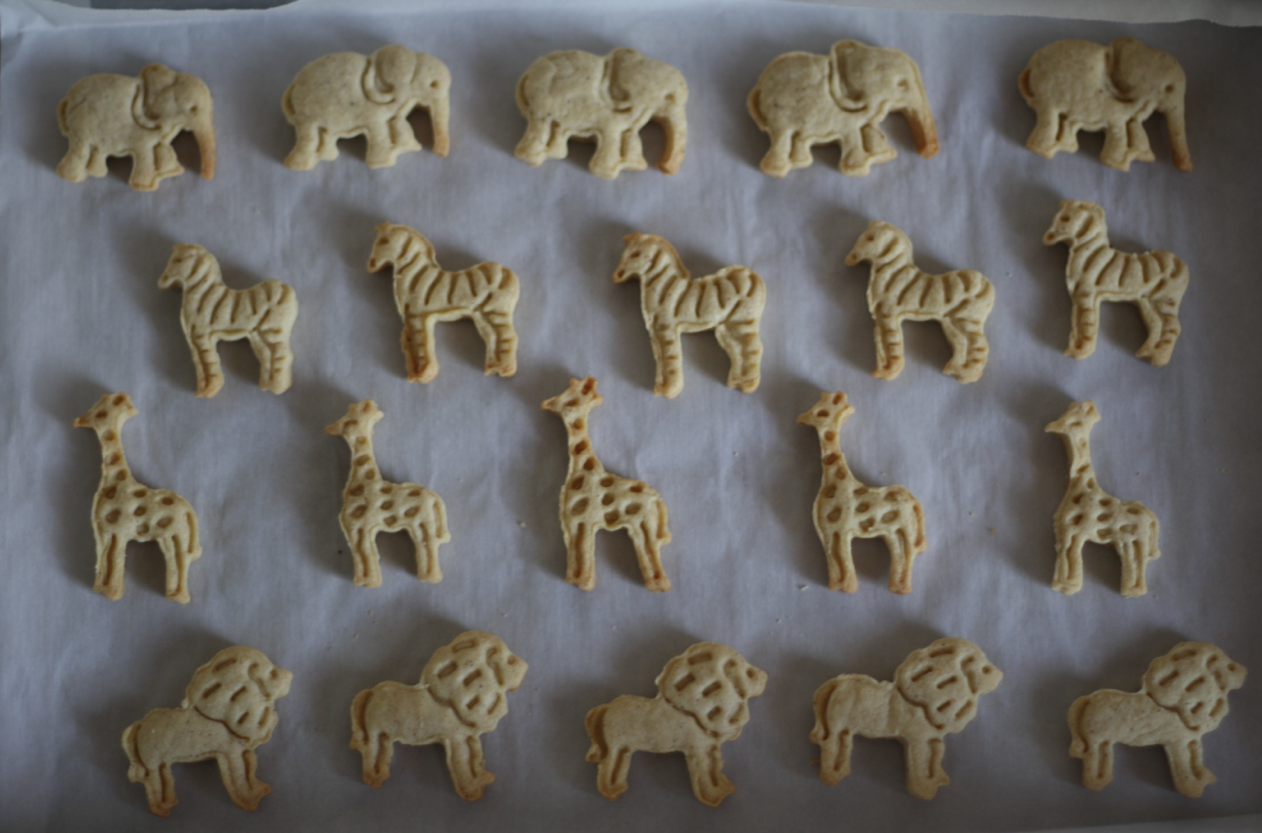
Make the cookies: In a medium bowl whisk together flour, baking powder, salt, cinnamon, and nutmeg. In a large bowl beat the butter and powdered sugar together until light and fluffy. Add the egg and extracts and beat until combined, scraping the bowl as needed. Add the dry ingredients and mix until the flour has been fully incorporated. Wrap the dough in plastic and chill for 30 minutes (or overnight).
Bake the cookies: When you are ready to bake, preheat the oven to 350, and line a baking sheet with parchment. On a lightly floured surface, roll out the dough to an 1/8-inch thickness. Stamp out as many cookies as you can, transfer to the prepared sheet, then re-roll the scraps as necessary. Continue rolling and stamping until you have filled your sheet. (The cookies won’t expand too much so you can keep them fairly close on the pan). Bake the cookies for 8-10 minutes or until the edges are light brown. Let them cool for a few minutes then transfer them to a wire rack to cool completely. Repeat with the remaining dough.
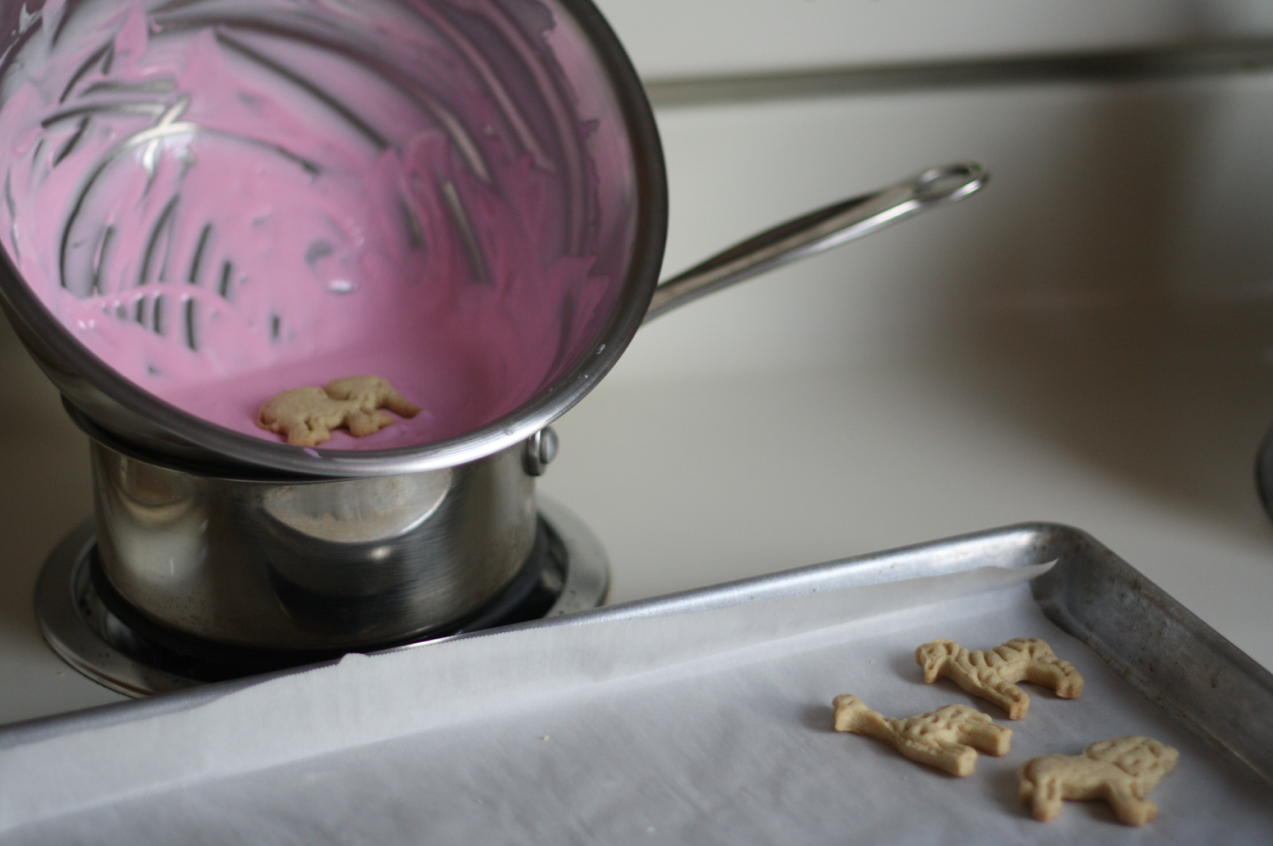
Dip n’ decorate: Prepare the dipping station while the cookies are cooling. Line a baking sheet with waxed paper. Set out a tiny bowl of sprinkles. In a heatproof bowl set over a pan of barely simmering water melt the package of white chocolate, stirring occasionally, until smooth. Dip half of the cooled cookies, one at a time, in the melted white coating. Transfer to waxed paper and top with sprinkles. Using a clean bowl, repeat the process with the pink coating, and the remaining cookies. Let the dipped cookies stand for a hour or two until the coating has firmed up – or pop them in the fridge to speed up the process. Store coated cookies between layers of waxed paper in the fridge.
Here are a few tricks when working with melted chocolate:
- Make sure your bowl is totally dry. Water and oil do not mix and just a little bit of water can cause the chocolate to seize which means it will look curdled and you will not be happy.
- The thinner the coating, the more professional the end-result dip will look. To thin out the chocolate mix in shortening OR oil, one tablespoon at a time, until it thins out a bit. Not sure how your chocolate will react to the thinning? Add a few spoonfuls of melted chocolate to a small bowl and stir in a small bit of oil or shortening. If it combines smoothly then you are good to go!
- You can not use any type of water based food coloring to tint the white coating pink (again with the water and oil not mixing) which is why I have recommended the pink coating above because it will melt perfectly and you will not get any more frustrated than the general amount of what working with coating tends to do. If you insist on tinting your own, powdered food coloring or an oil-based tint will work.
- Do not place dipped cookies on a metal drying rack because you think it will be easier for the extra coating to drip off because when they set up, they will be nearly impossible to remove. Waxed paper is the way to go, friends! (I learned the hard way.)