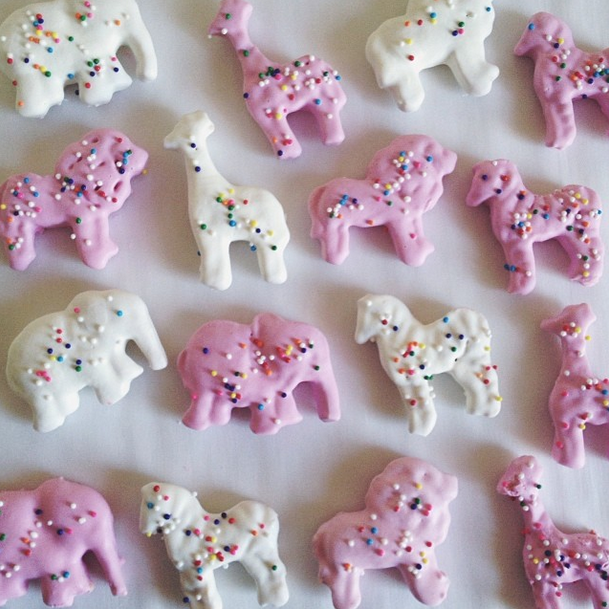
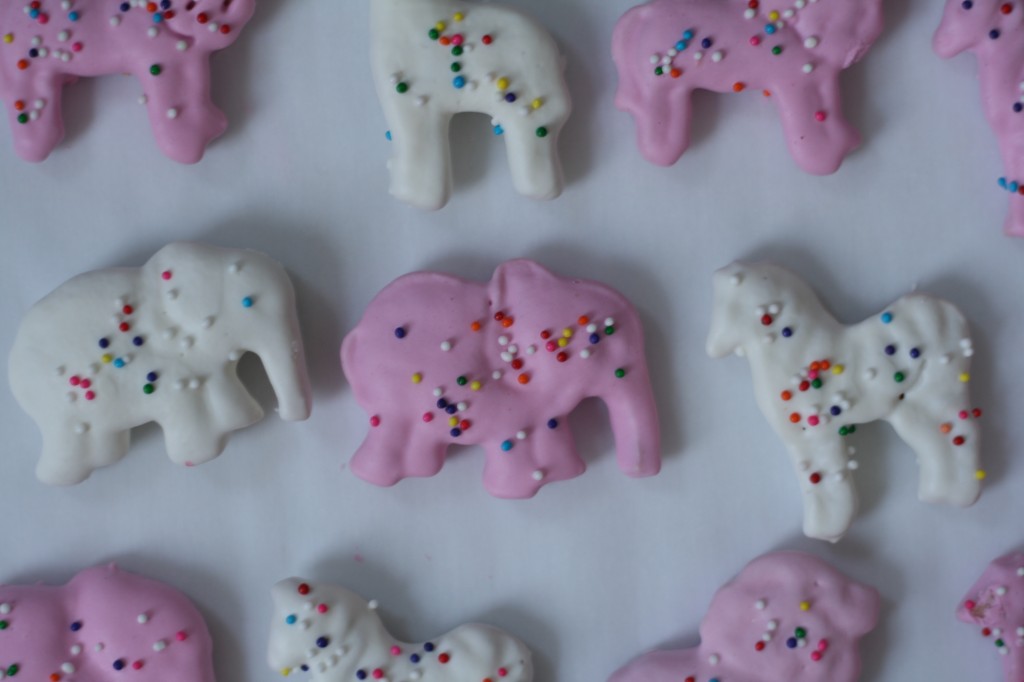
If you are familiar with the fine confection of the pink and white animal cookie, then you know that “frosted” is a bit misleading. There is no buttercream involved, as in a not-so-distant cousin – the graham cracker/frosting sandwich. These little circus animal-shaped cookies are more aligned with the “coating” camp as each one is dipped in a substance that hardens in such a way that can only really be described as waxy. Waxy in the best way possible, I can assure you.
So when I set about making them from scratch I knew that the coating was going to be the toughest to nail. I work-shopped out a few options with a friend before we both settled on white chocolate candy coating as the best and most authentic route. If you have met a cake pop then may know Candy Coating. If not, then it is practically a fool-proof way to coat anything with a hard-drying shell. And although it scores low on the waxy scale, it has just enough of a slight waxy aftertaste BONUS! to remind you of your childhood past, but about 125% better.
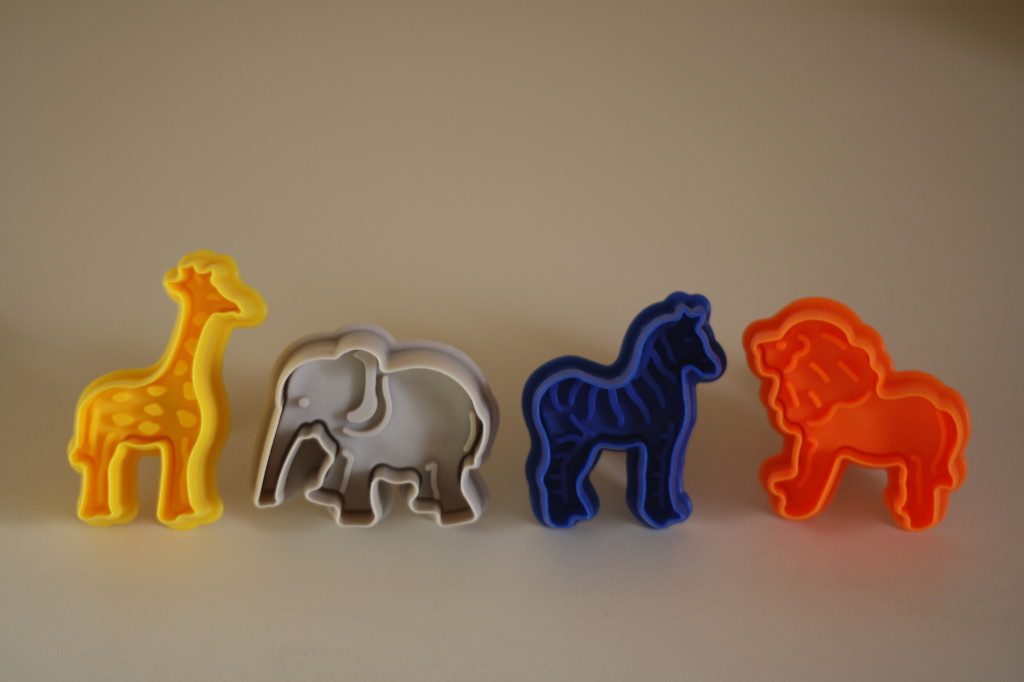
So impulse buy yourself into being the proud owner of a set of animal cookie cutters, whip up a simple dough, enlist a friend or two (I do not know any children yet but I would think that these would be a fabulous kitchen activity for them to help with) and I think you just found your next weekend baking activity!
Pink and White Frosted Circus Animal Crackers
Makes about 4 dozen tiny animal cookies
Inspired by Mother’s Cookies Circus Animal cookies; Cookie recipe adapted from Williams-Somona
For the animal crackers:
1 1/2 cups (187 grams) flour
1/2 teaspoon baking powder
1/2 teaspoon salt
1/8 teaspoon ground cinnamon
pinch of nutmeg
6 tablespoons (85 grams) butter, very soft
1/3 cup (35 grams) powdered sugar
1 egg
1/4 teaspoon almond extract
1/4 teaspoon vanilla
For the decorating:
1 bag white candy melts
1 bag pink candy melts
sprinkles, of the multi-colored nonpareils variety
canola oil or vegetable shortening, as needed
assorted animal-shaped cookie cutters
Make the cookies: In a medium bowl whisk together flour, baking powder, salt, cinnamon, and nutmeg. In a large bowl beat the butter and powdered sugar together until light and fluffy. Add the egg and extracts and beat until combined, scraping the bowl as needed. Add the dry ingredients and mix until the flour has been fully incorporated. Wrap the dough in plastic and chill for 30 minutes (or overnight).
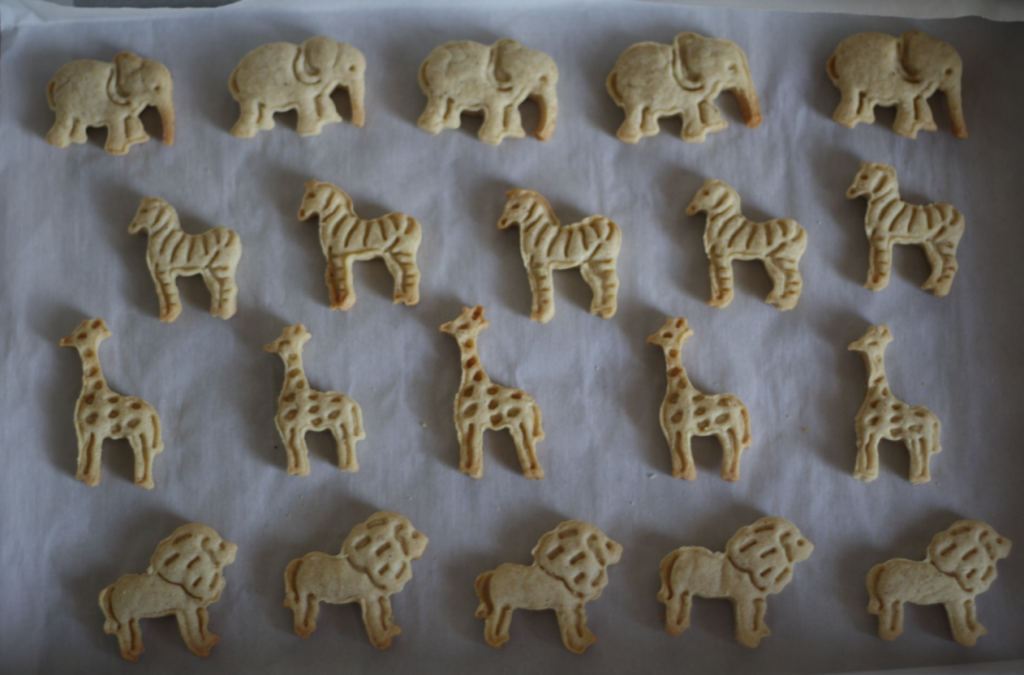
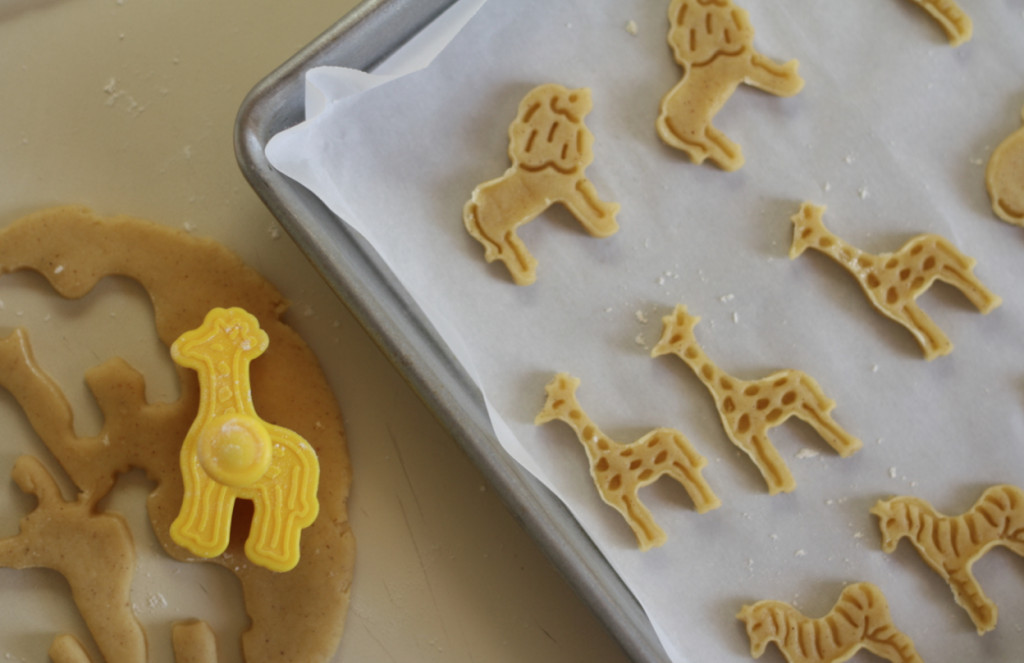
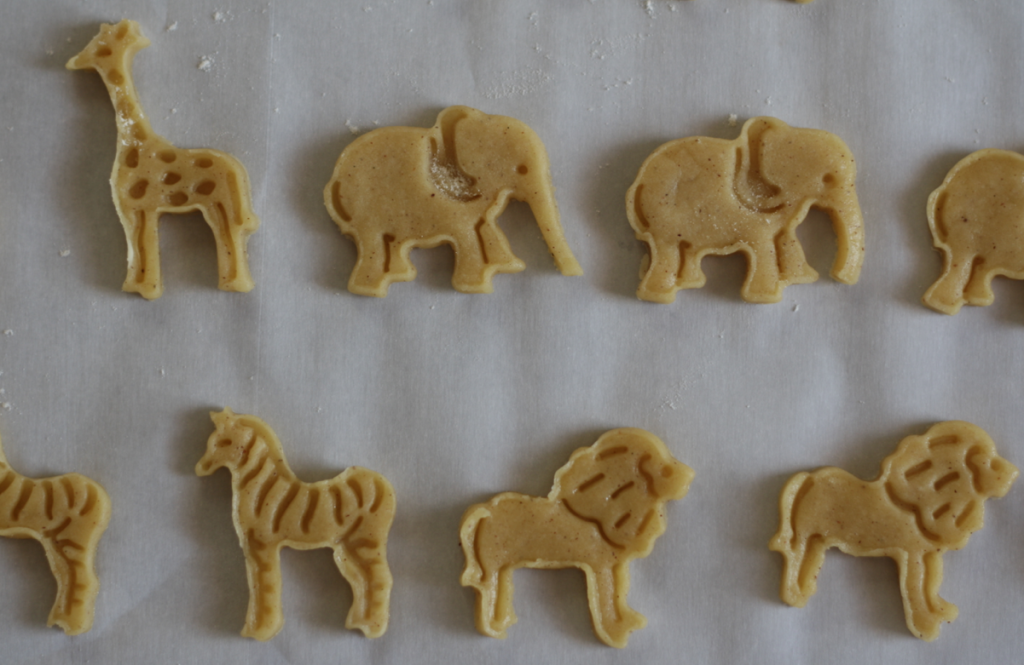
Bake the cookies: When you are ready to bake, preheat the oven to 350, and line a baking sheet with parchment. On a lightly floured surface, roll out the dough to an 1/8-inch thickness. Stamp out as many cookies as you can, transfer to the prepared sheet, then re-roll the scraps as necessary. Continue rolling and stamping until you have filled your sheet. (The cookies won’t expand too much so you can keep them fairly close on the pan). Bake the cookies for 8-10 minutes or until the edges are light brown. Let them cool for a few minutes then transfer them to a wire rack to cool completely. Repeat with the remaining dough.
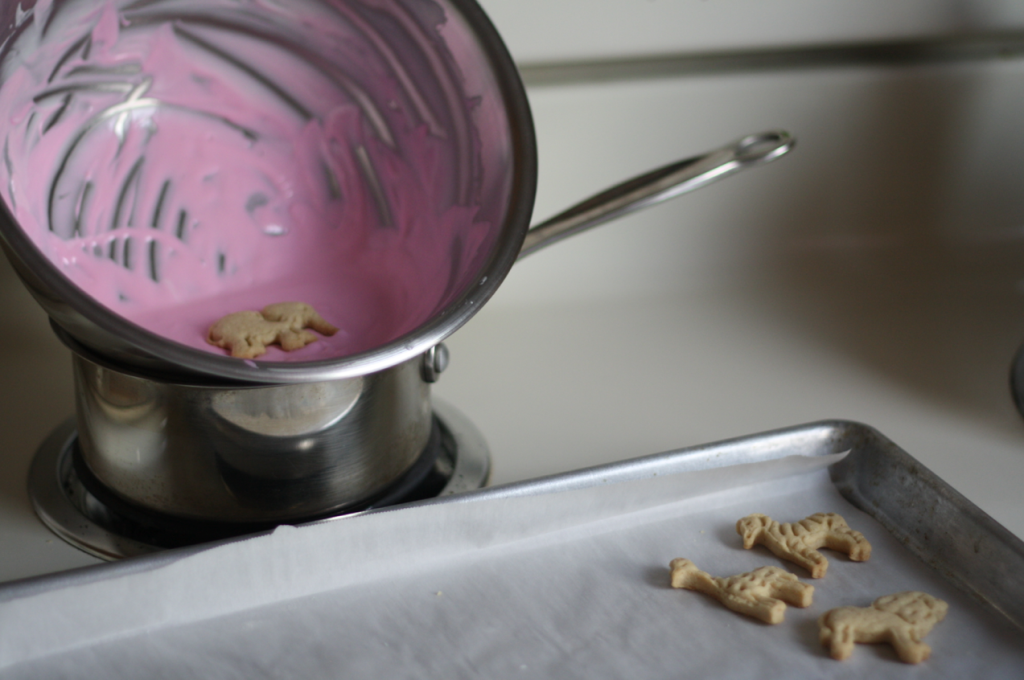
Dip n’ decorate: Prepare the dipping station while the cookies are cooling. Line a baking sheet with waxed paper. Set out a tiny bowl of sprinkles. In a heatproof bowl set over a pan of barely simmering water melt the package of white chocolate, stirring occasionally, until smooth. Dip half of the cooled cookies, one at a time, in the melted white coating. Transfer to waxed paper and top with sprinkles. Using a clean bowl, repeat the process with the pink coating, and the remaining cookies. Let the dipped cookies stand for a hour or two until the coating has firmed up – or pop them in the fridge to speed up the process. Store coated cookies between layers of waxed paper in the fridge.
Here are a few tricks when working with melted chocolate:
- Make sure your bowl is totally dry. Water and oil do not mix and just a little bit of water can cause the chocolate to seize which means it will look curdled and you will not be happy.
- The thinner the coating, the more professional the end-result dip will look. To thin out the chocolate mix in shortening OR oil, one tablespoon at a time, until it thins out a bit. Not sure how your chocolate will react to the thinning? Add a few spoonfuls of melted chocolate to a small bowl and stir in a small bit of oil or shortening. If it combines smoothly then you are good to go!
- You can not use any type of water based food coloring to tint the white coating pink (again with the water and oil not mixing) which is why I have recommended the pink coating above because it will melt perfectly and you will not get any more frustrated than the general amount of what working with coating tends to do. If you insist on tinting your own, powdered food coloring or an oil-based tint will work.
- Do not place dipped cookies on a metal drying rack because you think it will be easier for the extra coating to drip off because when they set up, they will be nearly impossible to remove. Waxed paper is the way to go, friends! (I learned the hard way.)
Don’t want to buy animal shaped cookie cutters? Any tiny shape will work. Maybe tiny hearts? Or mini stars! As much as I love these little animals I cannot resist already plotting a batch of holiday stars with festively red and green sprinkled tops!
{ 18 comments… read them below or add one }
I freaking love these!! SO cute!
My brother and I loved “frosted” animal crackers growing up. My 7 year old daughter has enjoyed one or two on occassion. I definitely would feel better serving her this version. I know what our next baking project will be. Super cute. Thanks!
Oh my gosh….I’m loving this!! So, so adorable. They’re absolutely perfect. 🙂
I love this !!! I have to have those cookie presses!!
You come up with the best projects, Lillie! Sounds like a fun project to do with the kids on one of our gray, rainy Chehalis Saturday afternoons!
These are simply affordable! Love them.
OH MY GOSH – these are SO cute! I love this!
this is my childhood! these are so adorable – what a fun take on such a traditional cookie. i love it!
Those biscuits are divine – I have never seen cutters like those, I love them. My children would adore those biscuits!
LOVE these! Beautiful, charming and every other positive adjective I can think of (and some I can’t).
These look so good! Funny thing, just a few weeks ago, browsing our neighborhood cookie aisle, I saw those animal cookies on sale and wanted to grab a bag! Then I felt embarrassed because I am not a young woman, though I can be child-like often! Something came over me and I finally confessed to my 20 year-old daughter, that yes, I LOVE those pink and white animal cookies, I always have and I always will! Gotta try these!
These look so adorable. They remind me of little christmas cookies that my mother would make when I was small – they were shaped like Christmas trees and stars, dipped in white chocolate and covered in sprinkles, just like these… So pretty and so nostalgic. I love them.
These are adorable and look just like the real deal! I love animal crackers and find them particularly difficult to eat just one of!
These are awesome! I was so inspired upon finding this recipe I went and got the ingredients I was missing the next day! Now for my toddler to wake, so we can bake the batch chilling in the fridge together….
Yay! So glad it inspired you to bake. Hope they were enjoyed!
I WOULD LOVE TO BUY THOSE ANIMAL COOKIE CUTTERS… CAN YOU PLEASE TELL ME WHERE TO PURCHASE THEM…
THANK YOU
i am so glad you posted this receipe. cant buy these in B.C. Canada. will go get supplies tomorrow and i will let you know how it goes.
Great job. Your post is very informative.
{ 5 trackbacks }