I was thisclose to making my deadline of December 1st – the self-imposed date on which I can begin making tiny bits of buttery awesome to share with anyone who will eat them.
But I realize that the painstaking decoration of holiday cookies isn’t everyone’s cup of tea. Most of the time I see the world through my insane baking person lens, meaning that I think everyone should enjoy spending six straight hours in pastry-bag-wielding-cookie-making elf mode. These super cute cookies are the happy medium between the crazy and the lazy.
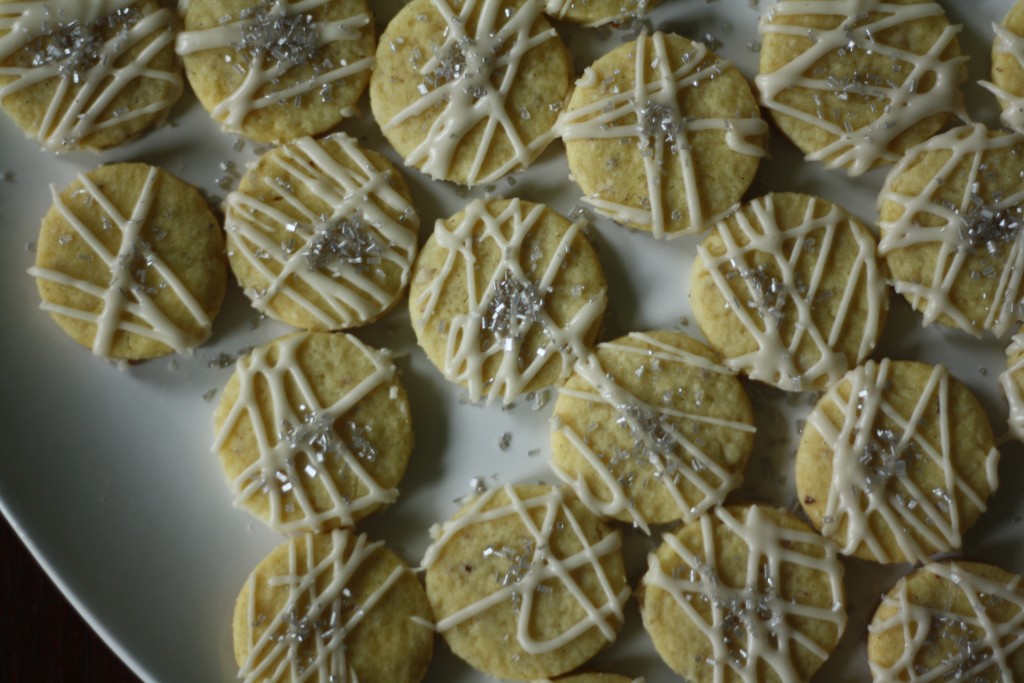
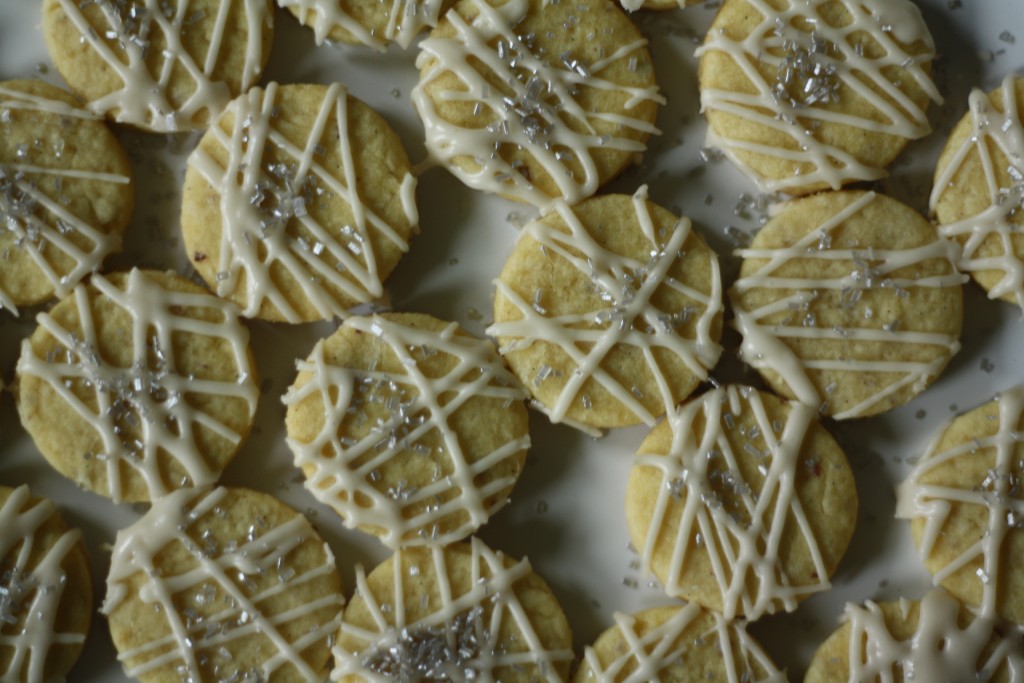
They look pretty and festive but all you need is a ziplock bag, some fancy sugar, and the will to release your inner Jackson Pollock.
 It all starts with a basic cookie dough scented with vanilla and almond. Mix it up. Chill it down. Roll it out. See spot run.
Stamp out as many cookies as you can then re-roll the scraps until you have used all the dough. After they are all baked and cooled, the fun begins!
 Line up the cookies in a square, making sure they are as close together as you can. I put mine on a sheet of waxed paper so that my counter top was one less thing to clean.
 Put your frosting in a ziplock bag and snip off the corner.
 Drizzle over the cookies. Go back and forth, lengthwise, zig-zag it up!
 Sprinkle each cookie with coarse sugar. A holiday cookie for all! Yay!
Iced Vanilla Almond Sugar Cookies
Makes 3 dozen
Inspired by Bon Appetit
1 cup flour
1/4 cup almond flour
1/4 teaspoon salt
1 stick butter, softened
1/3 cup sugar
1/2 teaspoon vanilla extract
1/2 teaspoon almond extract
1 vanilla bean, seeds scraped
2 egg yolks
Whisk together flour, almond flour and salt in a medium bowl. Cream together butter, sugar, extracts, and the seeds from the vanilla bean in a larger bowl until light and fluffy. Add egg yolks and beat until just incorporated. Add flour and mix until combined. Pat dough into a round, cover with plastic wrap and chill in the fridge for several hours (or up to two days).
When you are ready to bake the cookies, preheat the oven to 350 and line a baking sheet with parchment paper. Roll out the dough to about 1/4-inch thick and using a 1 1/2-inch cutter, stamp out as many rounds as you can. Re-roll the scraps until all the cookies have been cut. Bake for 13-15 minutes, or until the tops are set and the bottom is slightly browned. Let cool completely before icing.
Almond Glaze
1 cup powdered sugar
1 teaspoon lemon juice
1 tablespoon cream, more if needed
1/4 teaspoon almond extract
Whisk all the ingredients together in a small bowl until smooth and spreadable, adding cream by the teaspoon if necessary. Transfer to zip lock bag, releasing out the extra air as you seal, then snip off a tiny corner of the bag and drizzle over the cookies. Garnish with coarse sanding sugar. Store in an airtight container between waxed paper.

Stay tuned for baked goods made in a kitchen with real and actual drawers!

{ 9 comments… read them below or add one }
Who else but my friend Lillie would say “tiny bits of buttery awesome”!
Ali finally sent me the link to this wonderful blog – it’s beautiful. I love the photography, it has the feel of a beautiful cookbook.
I may have to make these!!
Thank you Nancy! I am so happy to hear that you are enjoying all “the little bits!” 🙂 xo
These are the bomb, I literally ate that entire package that you brought! So delish.
Yes!!!
These are beautiful. I love that icing!
thanks Cassie! Best part: the icing is so easy! 🙂
So great! I want to make these! This post reminds me of our holiday cookie making fete last year….forcing our poor little guests to make and decorate cookies for 6 hours. Miss you Lills!
Ha! Yes! That was the best cookie party ever – complete with your “real” fireplace. Miss you!!! xo
Sounds absolutely yummy 🙂 I will try it at weekend. Thanks for sharing the recipe.
{ 1 trackback }