I never thought I’d be one of those people who made their own bagels. I always felt like bagels are one of those things that should be left to someone with more authority, and well, they practically fall out of the sky here in New York. But at some point this fall I got motivated to try my hand at homemade bagelry and I got my bagel making pants on big time.
The most of anything you need is the patience to wait overnight so I have proposed the following bagel making timeline. It works best on a Saturday afternoon, with warm bagels to be enjoyed on Sunday.

Saturday
3:00 p.m. Make dough.
3:15 p.m. Put dough in the fridge to chillax for an hour or more. Depending on personal preferences, pass time by either painting nails or playing video games.
6:35 p.m. Shape bagels and put them in the fridge.
7:00 p.m. Put on your party pants and go out and live it up. You made bagels. Celebrate!
Sunday
12:27 p.m. Wake up. Drink coffee.
12:35 p.m. Remove bagels from fridge and boil water. Set out toppings.
12:36 p.m. Drink another coffee since you probably finished your last one five minutes ago.
12:47 p.m. Begin the boiling and topping process.
12:55 p.m. Put bagels in oven.
1:10 p.m. Remove bagels and wait at least 15 minutes for them to cool off. Curse me for thinking up this timeline and adding this step. You just want your bagels already.
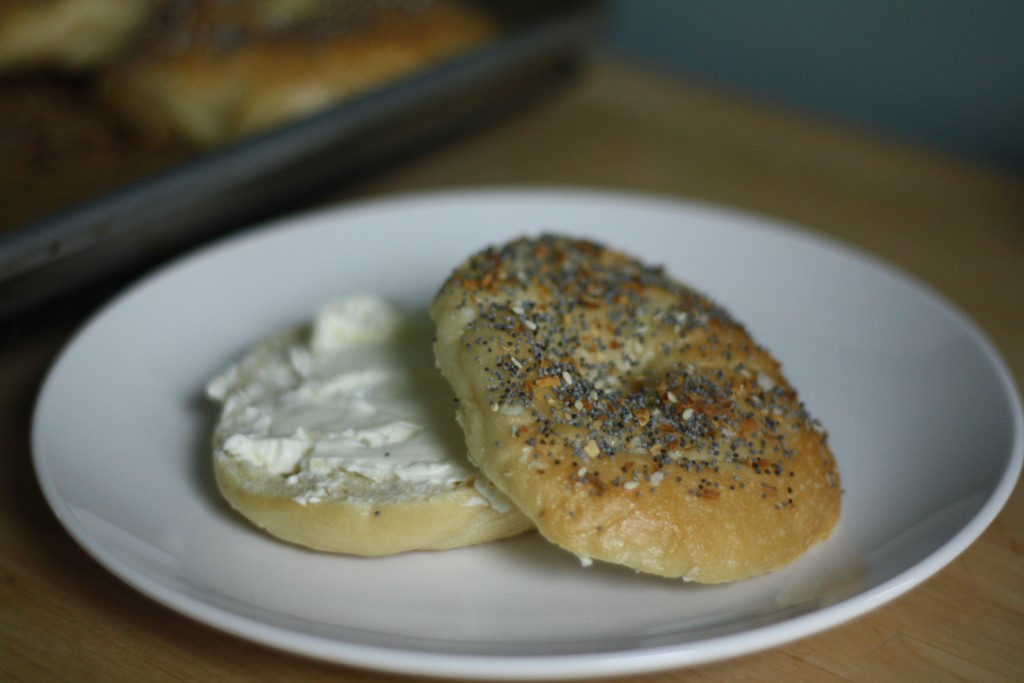
1:25 p.m. Take back all your mean thoughts. It was worth the wait as you eat the most delicious bagel fresh from the oven. It tastes that much better since you made it by hand while wearing your pajamas.
Homemade bagels are downright easy, and that’s the “hole” truth!
Homemade Everything Bagels
Makes 8 bagels
Adapted from the Los Angeles Times
For the dough:
3 1/2 cups all-purpose flour (or bread flour if you have it on hand)
2 teaspoons salt
3/4 teaspoon yeast
1 tablespoon honey
1 cup + 2 tablespoons water
For the bagel bath:
1 teaspoon salt
1 teaspoon baking soda
Topping:
2 teaspoons each poppy seeds, sesame seeds, sea salt, dehydrated garlic and onion bits
1 egg white
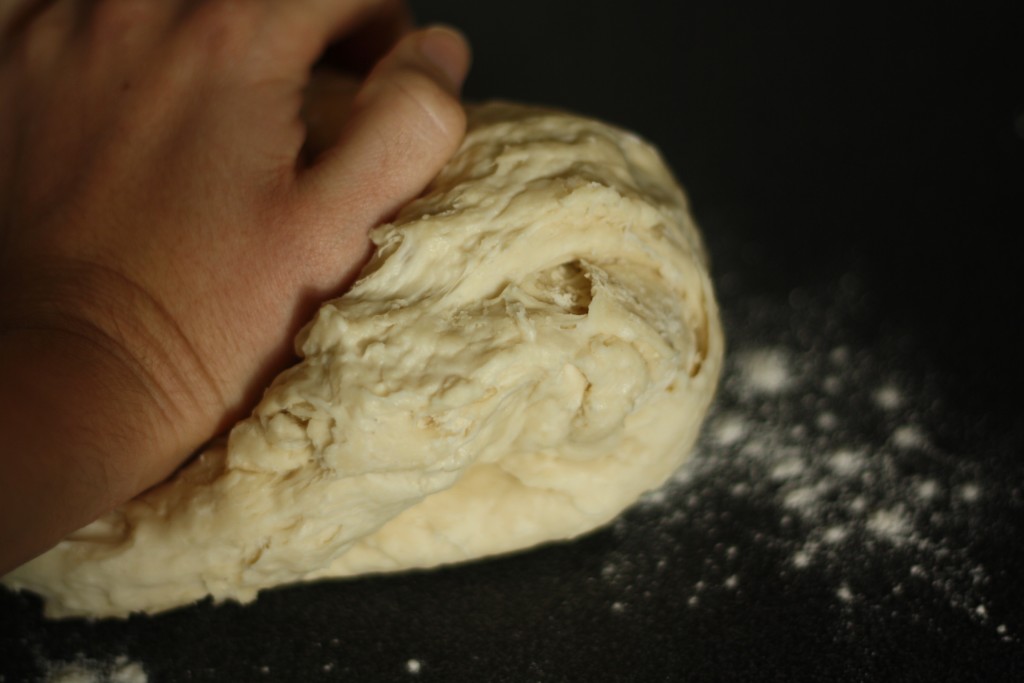
Measure out the water in a liquid measuring cup and then gently stir in the honey and yeast. In a large bowl whisk together the salt and flour and then mix in the liquid until it forms a rough ball. It should take a few minutes to come together and you can add an additional teaspoon or two of water if necessary. Let the dough rest in the bowl for 5 minutes the turn it onto a lightly floured surface and knead it until it is smooth, slightly tacky, and generally a glorious thing of beauty. Place in a lightly oiled bowl, turn to coat the dough, cover with plastic wrap and refrigerate for at least an hour.
When you are ready to shape the bagels line a baking sheet with parchment paper. Cut the dough into 8 equal pieces, and on a clean, dry surface roll each section into a ball. Then roll each ball into a rope about 8 inches long and overlap the ends so they form a circle. Gently roll the seam on the countertop to seal completely and reshape as needed so that the bagels are an even thickness all the way around. Lightly brush the bagels with oil, cover with plastic wrap and refrigerate overnight.
When you are ready to bake the bagels remove them from the fridge, preheat the oven to 500 and then get prepared: line a baking sheet with parchment, set out one small bowl with your toppings, another small bowl with the egg white and a pastry brush.
Fill your largest pot with at least 4 inches deep of water and let it come to a boil, then add the baking soda and salt and reduce to a simmer. Carefully add as many bagels as will comfortably fit to the simmering water and let them cook for a minute. Then flip and cook the other side for 30 seconds. Using a slotted spoon transfer to your prepared baking sheet, brush with egg white, and sprinkle with your toppings. Repeat until all the bagels are boiled and topped.
Place the bagels in the oven and reduce the temperature to 450. Bake for about 15 minutes, rotating the sheets halfway through baking, and until the bagels are golden brown. Transfer to a rack a let cool for as long as you can. Slice and serve.
Note: I slice all the bagels at once, and then freeze what ever is left over from the breakfast feast. Pre-sliced and frozen bagels toast up perfectly for many weeks to come!


{ 12 comments… read them below or add one }
Oh crap, this looks so good.
🙂 there is nothing better than bagels.
I dream about these bagels day and night. I think I might have to make them again!
Perhaps for New Years Day brunch? 🙂
can you use whole wheat flour here instead of white flour?
Yes, I think it would be delicious! I haven’t made them using whole wheat flour so I would start by swapping out half the white flour for whole wheat. I’d love to hear how they turn out!
This recipe is amaaaazing! It’s my first time baking bagels and they turned out great! I used wholewheat flour instead of white flour and they worked just the same (and I get bragging right for baking healthy bagels). I found them a bit small though so only made 6 instead of 8, they were the perfect size. Thanks for posting this Lillie! Sending many thank yous from Egypt
as part of a summer that just wont end, it was gratifying to spend a good chunk of time making these bagels. this was my very first baking project, and it’s given me some serious bragging rights. 😀
Yes – awesome! So happy I could help 🙂
Made them for Easter (yesterday). They were so easy and ridiculously good!!!
They really are easy to put together. Just made another batch for tomorrow! I only got 1/4 of one yesterday. I had made 3 batches – all separately. Was worried that they looked small at first, but they do rise up a little and bake up perfectly. One thing- be sure to try to press out all the air bubbles when you’re rolling into the cylinder so you won’t get big holes in your finished bagel insides. You need to roll to 10″ at least. 8″ makes them too small by the time you overlap to hold together. Don’t be put off by how they look when you do the water step. They look like unknown creatures, but turn out beautifully. Did the everything bagel just as written. A keepsake recipe. Just Do It!!!!
Thank you Janie! I’m so happy to hear that they were a hit! xo
I saved this recipe some time ago but just made them this weekend. As an experienced bread maker , I didn’t think they were going to work out because the dough was really tough in texture. Never the less, they turned out great ! I didn’t let them rise in the refrigerator though because it is chilly here this weekend, and my kitchen is cool .
I will definitely be making these again
{ 1 trackback }