That said, if I so happen to possibly receive a certain something in white on a special day that is a week from today I would probably quickly change my views on the “by hand” way of kitchen life that I’ve been living. I can only imagine how I’d take every oppounity to use it and it would not surprise me one bit if I started mixing up gin and tonics on the lowest speed just to get a quick use in. The phrase “Oh here, just let me mix that for you…” would be on an endless loop.
For your sake and for cocktails everywhere, the good news is that I don’t expect any such gift [right?! fingers secretly crossed] any time soon. In the meantime I jump on every occasion to invade the homes of my friends and use theirs.
When my dear friend asked if I’d like to come over for a marshmallow making party, you better believe I was over there in a hot second.

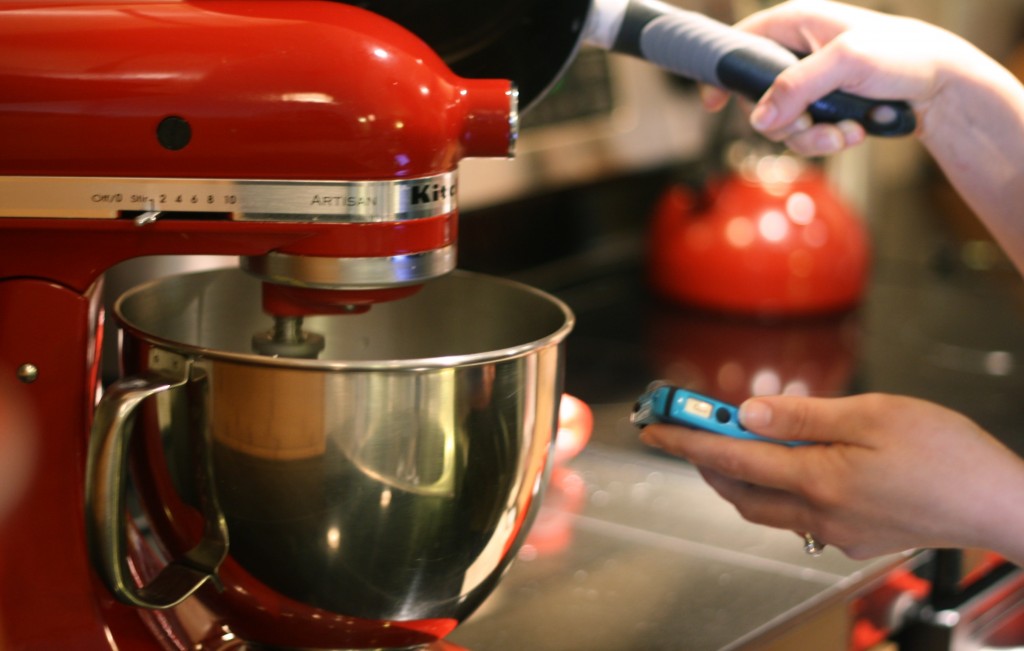
Marshmallows are one of those things where it really is helpful to have a stand mixer or prepare yourself now for the arm workout to come. People have of course survived marshmallow making without one since I’m pretty sure cooks in 19th century France weren’t like, “Eh non, I can’t make those! I don’t have Le Kitchenaid!”
I would like to also amend my earlier suggestion on how one must be free of technology when in the kitchen to allow for complete focus. Exceptions are made when you need to read the recipe on your phone since the printer ran out of ink.
We made one batch of plain marshmallows and then got fancy from there. Of course, I had to recommend the addition of some sort of booze. Maple syrup and pumpkin pie spice added a perfect hint of flavor. Fluffy, springy and spice-scented marshmallows. Heaven. Perfect for your hot cocoa mixed excessively by “stand”.
Spiced Maple Rum Marshmallows
Makes a ton, which is roughly 9 dozen
Inspired by Food Network
Marshmallows:
3 packages unflavored gelatin
1 teaspoon pumpkin pie spice
1 cup very cold water, divided
1 1/2 cups sugar
1 cup light corn syrup
1/4 teaspoon salt
1 tablespoon rum
1 tablespoon maple syrup
Coating:
1/2 cup powdered sugar
1/2 cup cornstarch
1 teaspoon pumpkin pie spice
cooking spray
First dig out your whisk attachment and candy thermometer from the bottom of your odds n’ ends drawer. Then mix the powdered sugar, cornstarch and spice in a small bowl. Coat a 9×13 pan with cooking spray and completely cover the bottom and sides of the pan with the powdered sugar mixture. Set aside.
Next combine the gelatin and spice together in the bottom of your stand mixer and then add 1/2 cup of water. Stir briefly to make sure everything is evenly mixed. It will turn into a crazy weird spice jello pretty fast but don’t stress – your marshmallows will turn out fine.
In a small saucepan combine the remaining 1/2 cup water, sugar, corn syrup and salt. Cover and heat over medium high for 3-4 minutes. Uncover, clip on your candy thermometer, and cook until the mixture reaches 240 (which should take about 7-8 minutes). Remove the pan from the heat immediately.
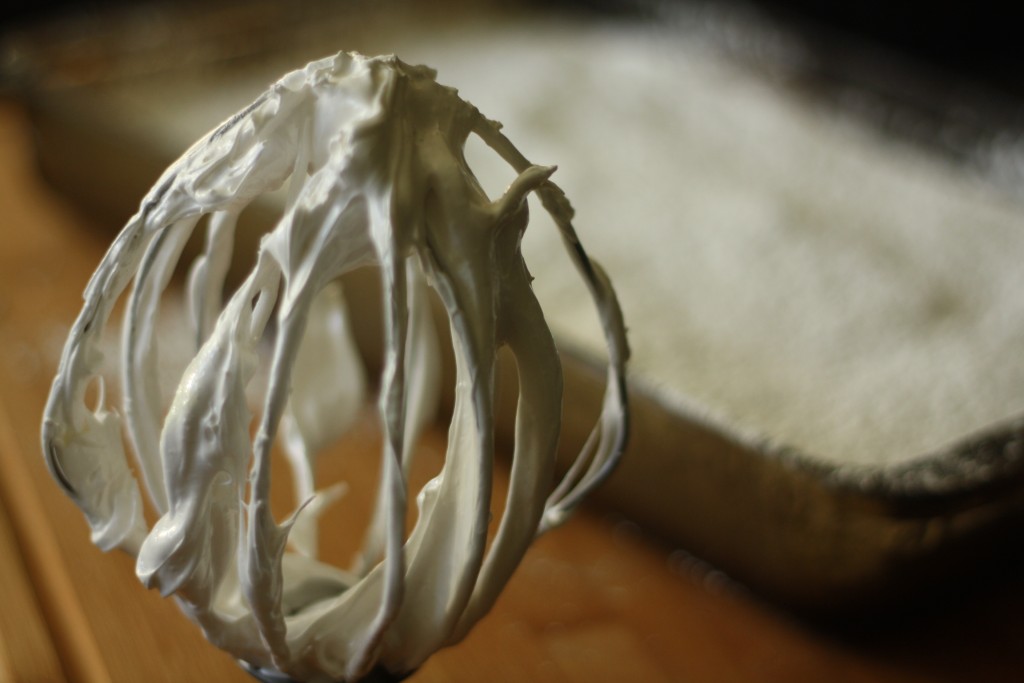
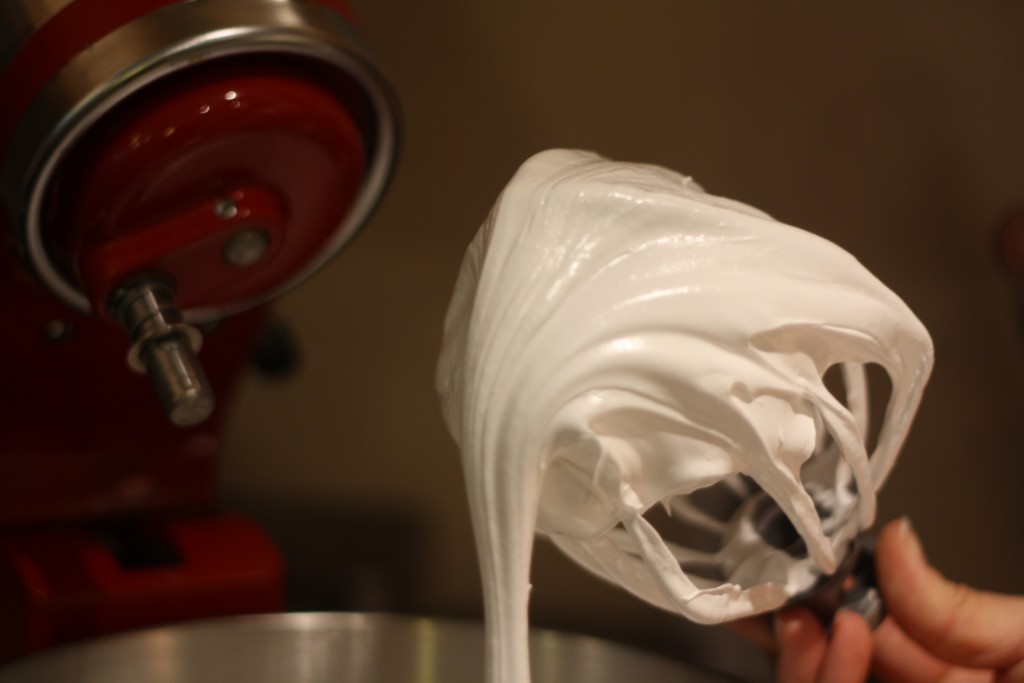
Turn your mixer on low, and slowly pour the sugar syrup into the bowl. When all the syrup is added, crank up the speed to high. Beat the mixture for about 6 minutes then turn the machine to low and add the maple syrup and rum. Increase the speed back up to high to fully incorporate the liquid and continue beating until the mixture is thick, glossy and has cooled slightly. It should take about a total of 12-15 minutes.
Generously coat a spatula with cooking spray and use it to turn the marshmallow mixture into the prepared pan. Spread the mixture evenly around the pan and all the way to the sides. Sprinkle the top of with enough powdered sugar mix to cover completely and put the remaining mix into a ziplock bag. Let the marshmallows stand uncovered for at least 4 hours then using a pizza cutter cut into 1-inch squares. After they have been cut, toss each marshmallow in the bag of coating so that all the sides are covered. Store in an airtight container for up to 3 weeks.

P.S. So I may not have been completely truthful about the overshare being over, but I’m sorry this picture was just plain worth it. OMG!


{ 12 comments… read them below or add one }
LOVE your bangs!!!
Ha! Pretty awesome, right? 🙂
I have read some excellent stuff here. Definitely price bookmarking for revisiting.
I wonder how much effort you put to make one of these excellent
informative site.
Hey, I love that
Homemade marshmallows are about to take my s’mores to the next level next time I go camping!! Thank you so much for sharing this recipes!
Thanks for the recipe process. 🙂
I’ve been itching to try my hand at making marshmallows. This recipe is perfect to get started. Thank you 🙂
That’s looks so delicious, curious about it’s taste.
It is amazing recipe. Great Work.
Looks awesome! I will definately try this
Thanks for sharing the recipe here. Keep up the good work.
Loved this recipe! Delicious!!
{ 2 trackbacks }