Dudes and dudettes – how could I be so silly? How could I have missed this easy, downright fun, and delicious DIY? What have I been doing with my life that is not making mini peanut butter cups by the dozen?
These treats also come just in time for Halloween which seems to be hanging out right around the corner and ready to say hello (hi there, Halloween!). I have found in my official research that Halloween is one of those special holidays that people either love or loathe. Personally, I enjoy Halloween if I get to a) consume at least one or more fun-sized butterfinger candy bars and/or b) wear a costume that cost less than $8 dollars and no more than 30 minutes of my time planning.
For references sake some past costumes have included: NYC Metrocard (which was an awesome and horribly realistic Metrocard tourist t-shirt and a crown of expired Metrocards which I collected from my co-workers after a few too many and what I’m sure were annoying non-work related office emails), dry cleaning (which was a dry cleaning bag over a fancy dress; this costume doubled as a poncho which was great because that year it rained), an autumnal tree (where I safety-pinned fake orange and red leaves from a garland I bought at Rite-Aid en route to a party onto a green dress), and my personal favorite – the year I was a s’mores and fashioned a get-up out of white trash bags and cardboard and wore it like a double-sided sign.
I have no ideas yet for the celebration that is quickly approaching, but given my past way of going about things I have practically years of time to plan and decided to focus my energy on making homemade candy instead.
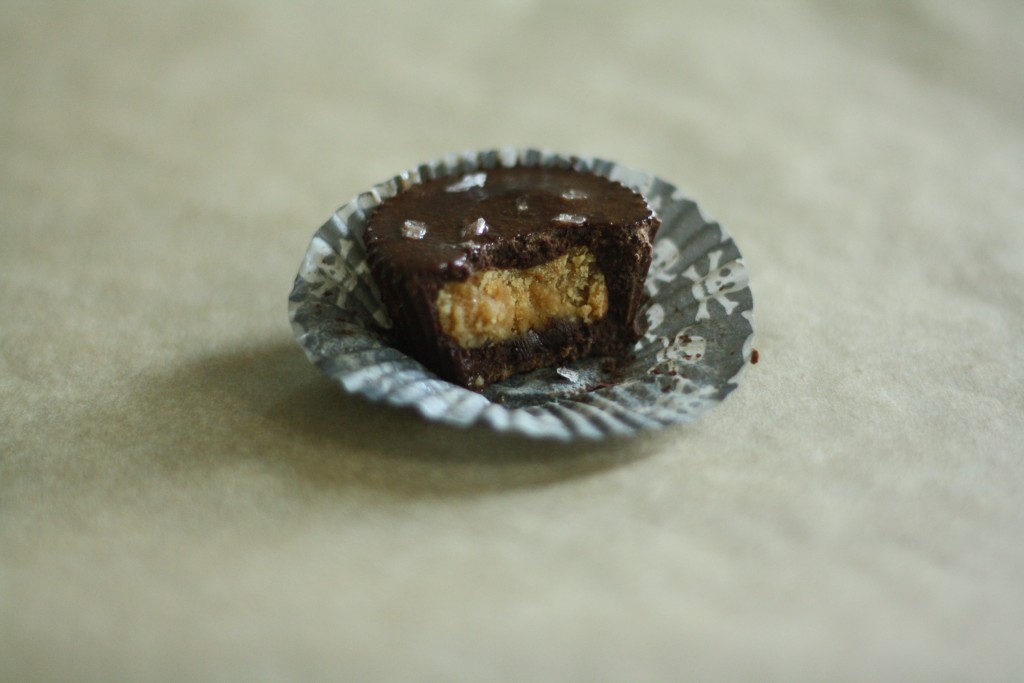
Well, mostly I came across a package of mini skull and crossbones cupcake liners and wanted to put them to a use other than tiny cupcakes. Nothing says I’m a bad-ass like a few skull-patterned mini paper cups.
Toasted peanuts are food-processed with honey, vegetable oil and a few other things you probably have in the pantry right now and then shaped into centers. Melt some chocolate, put a little into the bottom of each liner, add peanut center and top with chocolate.
That is it. Now you have no excuses to not try your hand at candy-making this year.
These take about an afternoon to whip up which leaves you plenty of time to brainstorm and get both your homemade costumed-self and homemade mini chocolate peanut butter cup treats to the party this Halloween.
Mini Chocolate Peanut Butter Cups
Makes about 2 dozen mini cups
Adapted from Jam it, Pickle it, Cure it: And Other Cooking Projects
1 1/3 cups (155 grams) raw blanched peanuts
2 tablespoons (20 grams) powdered sugar
1 tablespoon (15 ml) maple syrup
2 teaspoons (5 ml) honey or agave nectar
1 teaspoon (2.5 ml) vegetable oil
1 teaspoon (2.5 ml) vanilla
1/2 teaspoon (2 grams) salt
1-2 teaspoons water, more as needed
2 cups (about 340 grams or 12 ounces) semisweet chocolate chips
flaky salt for sprinkling, optional
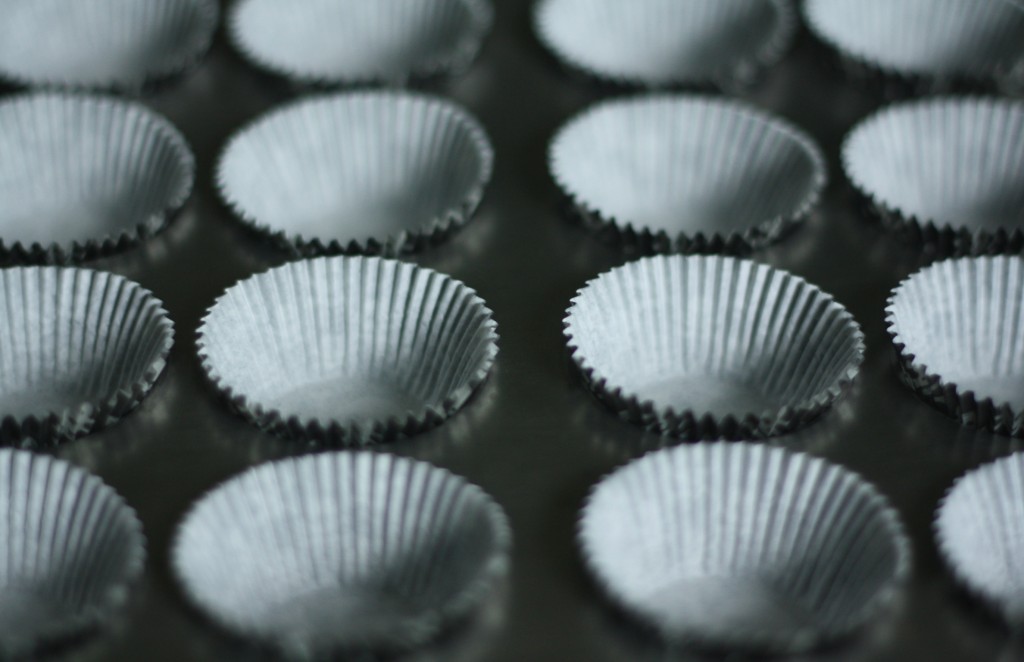
Toast the peanuts in a dry skillet set over medium heat, stirring occasionally, until they are lightly browned and toasty. Turn off the heat and let them cool. While you wait, line a mini cupcake tin with 24 paper liners. Set the pan aside.
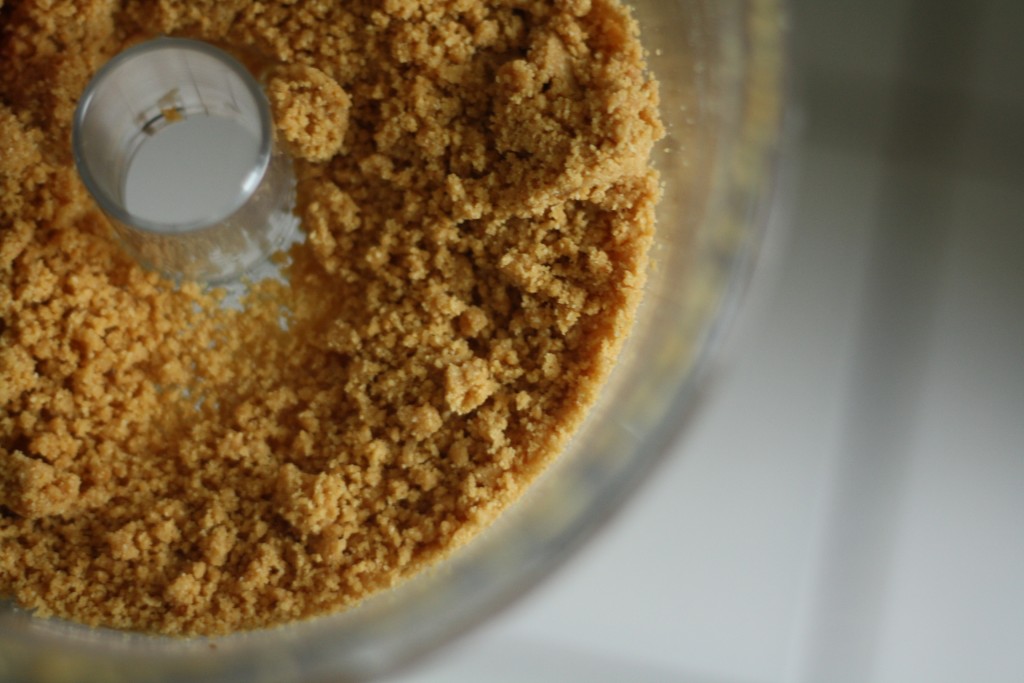
Pulse together toasted peanuts, powdered sugar, maple syrup, honey (or agave), oil, vanilla and salt in the bowl of a food processor until smooth, stopping several times to scrape down the bowl as needed. Transfer the mixture to a medium bowl. Don’t worry – it will look a little crumbly.
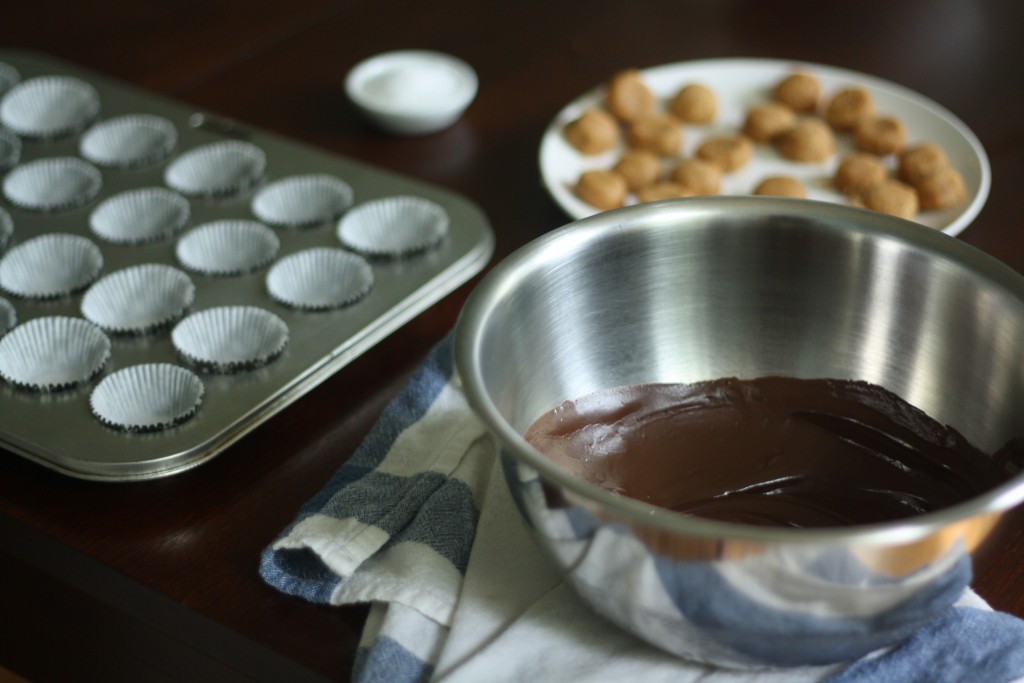
Slowly begin to melt the chocolate in a heatproof bowl set over a pan of gently simmering water until smooth and glossy. When it has melted, remove it from the heat and set aside.
Test to see if the peanut mixture will hold together by rolling a teaspoon-sized amount into a ball. If it crumbles, stir in 1 teaspoon of water and test again. Continue adding water, a teaspoon at a time, until a ball can be easily rolled together and holds its shape. I used 2 teaspoons of water. Working with a generous teaspoon at a time, roll the filling into balls and flatten each one slightly. You want the peanut butter centers to fit into the liner without touching the sides of the cup (that extra space is going to get filled with chocolate).
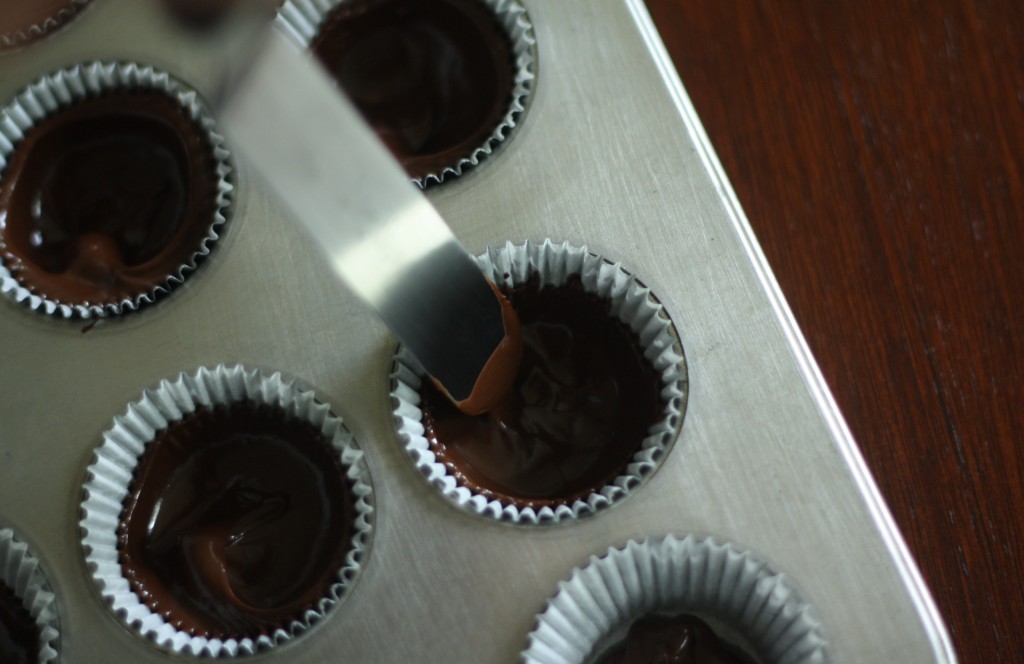
Spoon about a teaspoon of melted chocolate into the bottom of each cup then use an offset spatula (or knife) to spread the chocolate about halfway up the sides of the liners. Gently press the peanut butter centers into the chocolate but be careful not to press them all the way to the bottom of the cup.
Cover each center with another teaspoon of chocolate and use the offset spatula to smooth the top. Shaking the pan with a gentle hand also works well. Sprinkle each peanut butter cup with a pinch of flaky salt if using.
Let the cups stand undisturbed for about four hours or until the chocolate has set. Store for up to two weeks at room temperature in an airtight container. Devour.


{ 17 comments… read them below or add one }
Skull & Crossbones papers aside…I am one of those who doesn’t like Halloween. I don’t. I can get into a fun sized Butterfinger as well, but no. I will have to find an excuse to make these however…maybe for the holidays. I may even try some in bittersweet chocolate with marzipan…your simple process looks like it would work perfectly for that.
I’ve made peanut butter cups before from The Brave Tart’s recipe but they weren’t as full of wholesome delicious ingredients as these. Maple syrup? Love. Honey? Yum. Raw blanched peanuts? Basically healthy and good for you 🙂 Fab recipe!
Love these! So cute and pretty 🙂
I’ve never been a big fan of candy making… but I might make an exception for these. They look delicious! (and not too complicated, which is what I need!)
Mmm peanut butter and chocolate! You can’t beat that!
now I too am wondering why I haven’t been making these. Thanks for the awesome inspiration.
Erin – ekcantcook.blogspot.com
It has been a couple of days since I discovered this blog and I am completely in love with it! These recipies look delicious! Cannot wait to try them out!
And to be honest, I am not sure what it is that I like more: the recipies or the photos? Do you take them yourself?
Yay! I’m so happy you found BMUB. Thank you!! Yes, I do take the photos myself. Happy baking!
Ok, this has quickly become my favorite food blog – thank you! Not only are your pictures gorgeous, the recipes have been ridiculously good. I was particularly sorry to have missed the chance to post rave comments about your Oatmeal Cocoa Nib cookies, which are utter perfection! I’m making them again this weekend. These are next on my list, despite my preternatural aversion to the concept of candy-making – must be those scary thermometers…
Omg! Your comment is totally amazeballs and made my day. Thank you! I’m so happy to hear that the cookies were a success (and I apologize for having the close the comments on the cocoa nib post – it was darn technology’s fault due to it being a contest!) I hope you enjoy the PB cups and thank you for reading!! xo
Nice. So you get to replicate the Hershey’s cup at home except that the chocolate component is suitable for an adult palate (since you can control the quality) in stark contrast to the lifeless milk chocolate that coats the original…
I loved how simple this was! Thanks for this.
Thank you Daniel! I’m glad you enjoyed!
These completely appeal to my sweet tooth! (And I guess I’m going to use it as an excuse not to spend time on a Halloween costume…because I think that’s my Halloween threshold). I’m going to have to refrain from eating them all straight away though!
Good Show!
Who knew it would be so simple to make a peanut butter cup? I’ve been through the lammo commercial and even some gourganic offerings, but you’ve just introduced a bit of PeanoChocca heaven into my life.
Thank you.
As an aside to Halloween costumes, one year hubby and I were dressed as Hershey’s chocolate bars….brown towels, tape spelling Hersheys on front, his had “with nuts” on back, mine had “no nuts”….easy and fun. I love your site; thank you.
Haha! That is a great costume idea!! Thank you and happy baking!